

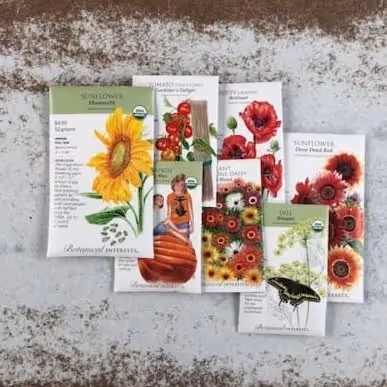
Getting a head start on your garden can be gratifying, particularly if you’re the planning type. Starting seeds indoors gives you more time to enjoy flowering plants, and lets you harvest your first vegetables sooner. You also get a greater choice of variety, since you can almost always find a wider selection of seeds than you can started transplants. And if you’re into growing obscure varieties of heirloom tomatoes or wickedly hot peppers from exotic locales, it may be your only option.
Many seeds can be started indoors—the seed packet should tell you the right time to sow, usually noted as how many weeks before the last expected frost. As a rule of thumb, tomatoes are started 6-8 weeks before the last frost (start early/mid-March), peppers 8-10 weeks (start mid-February/early March). Flowers vary widely from 4-12 weeks.
Use a good quality seed starting mix, or a regular potting soil with no added fertilizer. Seeds are actually full of nutrients, sufficient to sustain a seedling at least until regular leaves form, at which point you can fertilizer with dilute liquid fertilizer if necessary. Seedling soil also needs to drain well, yet retain enough moisture for delicate seedlings. Digging soil from your garden to start seeds should be avoided as it often contains diseases and pests that can proliferate to the point of harming young seedlings. Won’t those same problems be present once you transplant seedlings into the garden you may ask? Yes, but the seedlings will have grown stronger, and the natural balance of “wild” soils keeps harmful diseases and bugs in check.
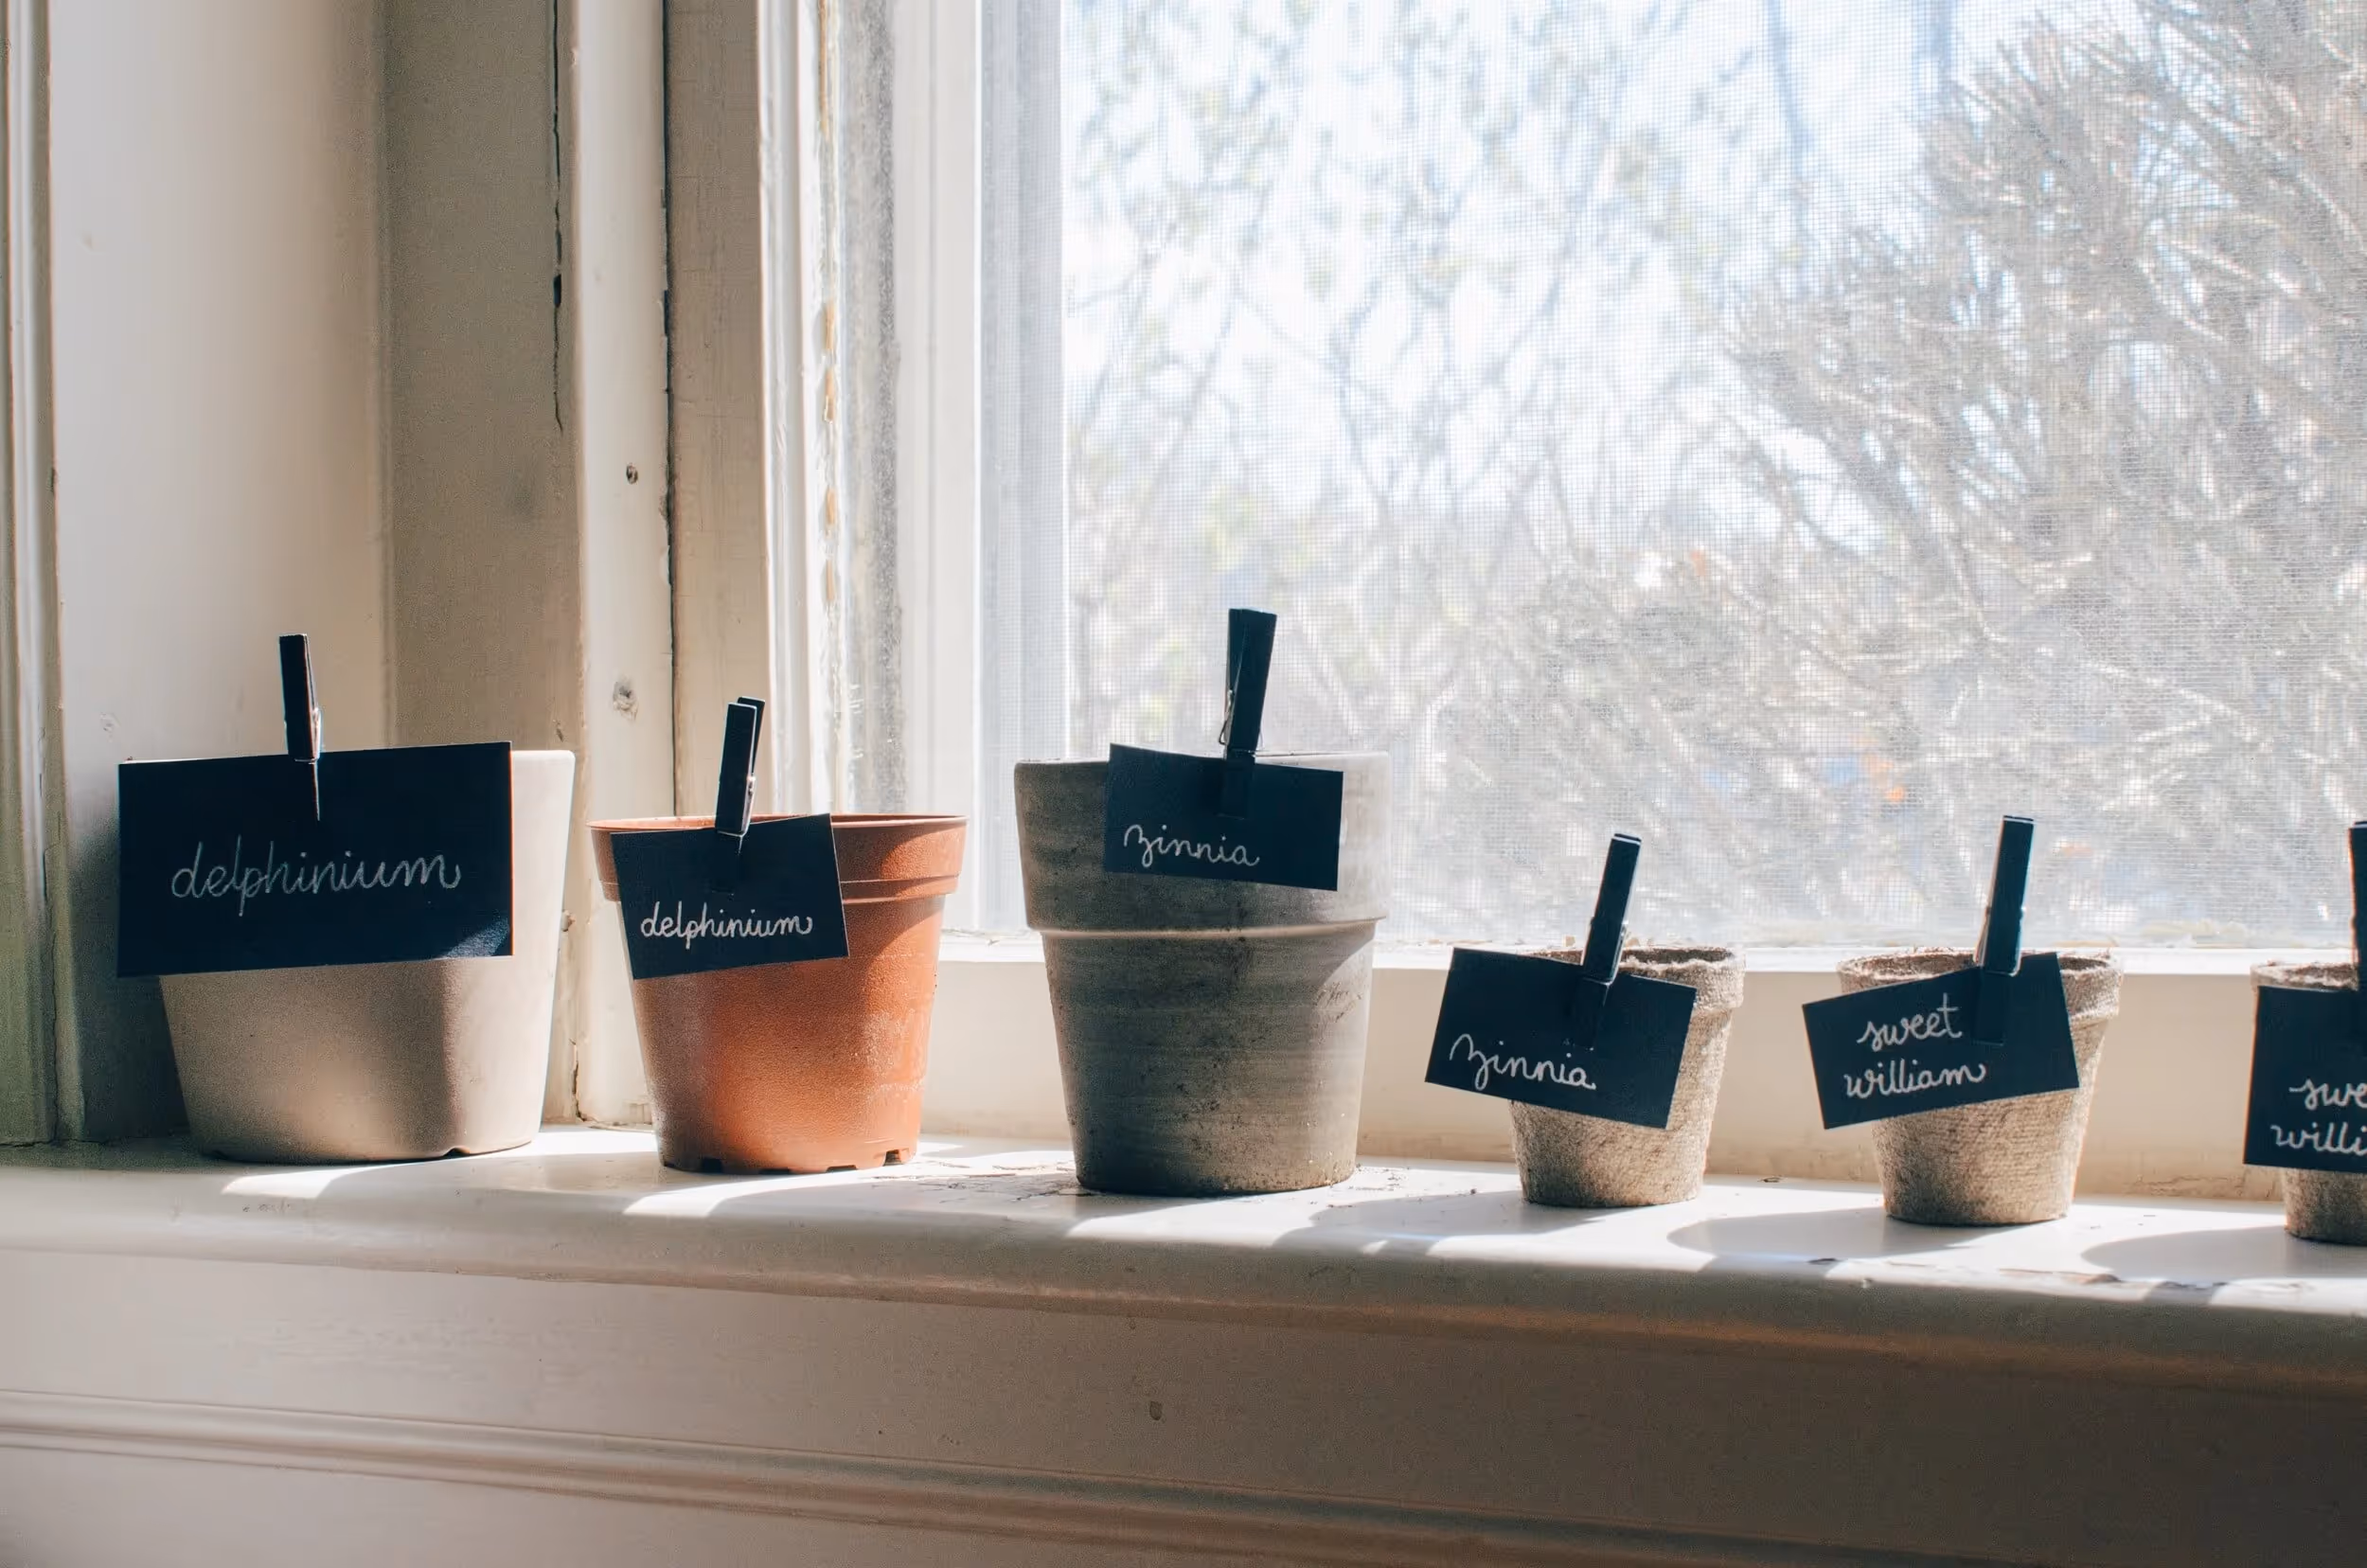
You can use any clean container to start seeds; recycling egg cartons and yogurt containers as seed starters is popular and fun when you’re growing seeds with kids. You can also get pellets of peat moss that expand into plantable mini seed pots or pots formed from (deodorized!) cow manure, coconut fiber, or peat moss, all of which can be planted directly into the garden when the seedlings are ready. For the crafty, Pinterest is full of ideas for making seed starting containers, out of everything from ice cream cones to cardboard toilet paper rolls. (Take some of those suggestions with a grain of salt. In reality, ice cream cones will turn to gooey mush before you get them into your garden!)
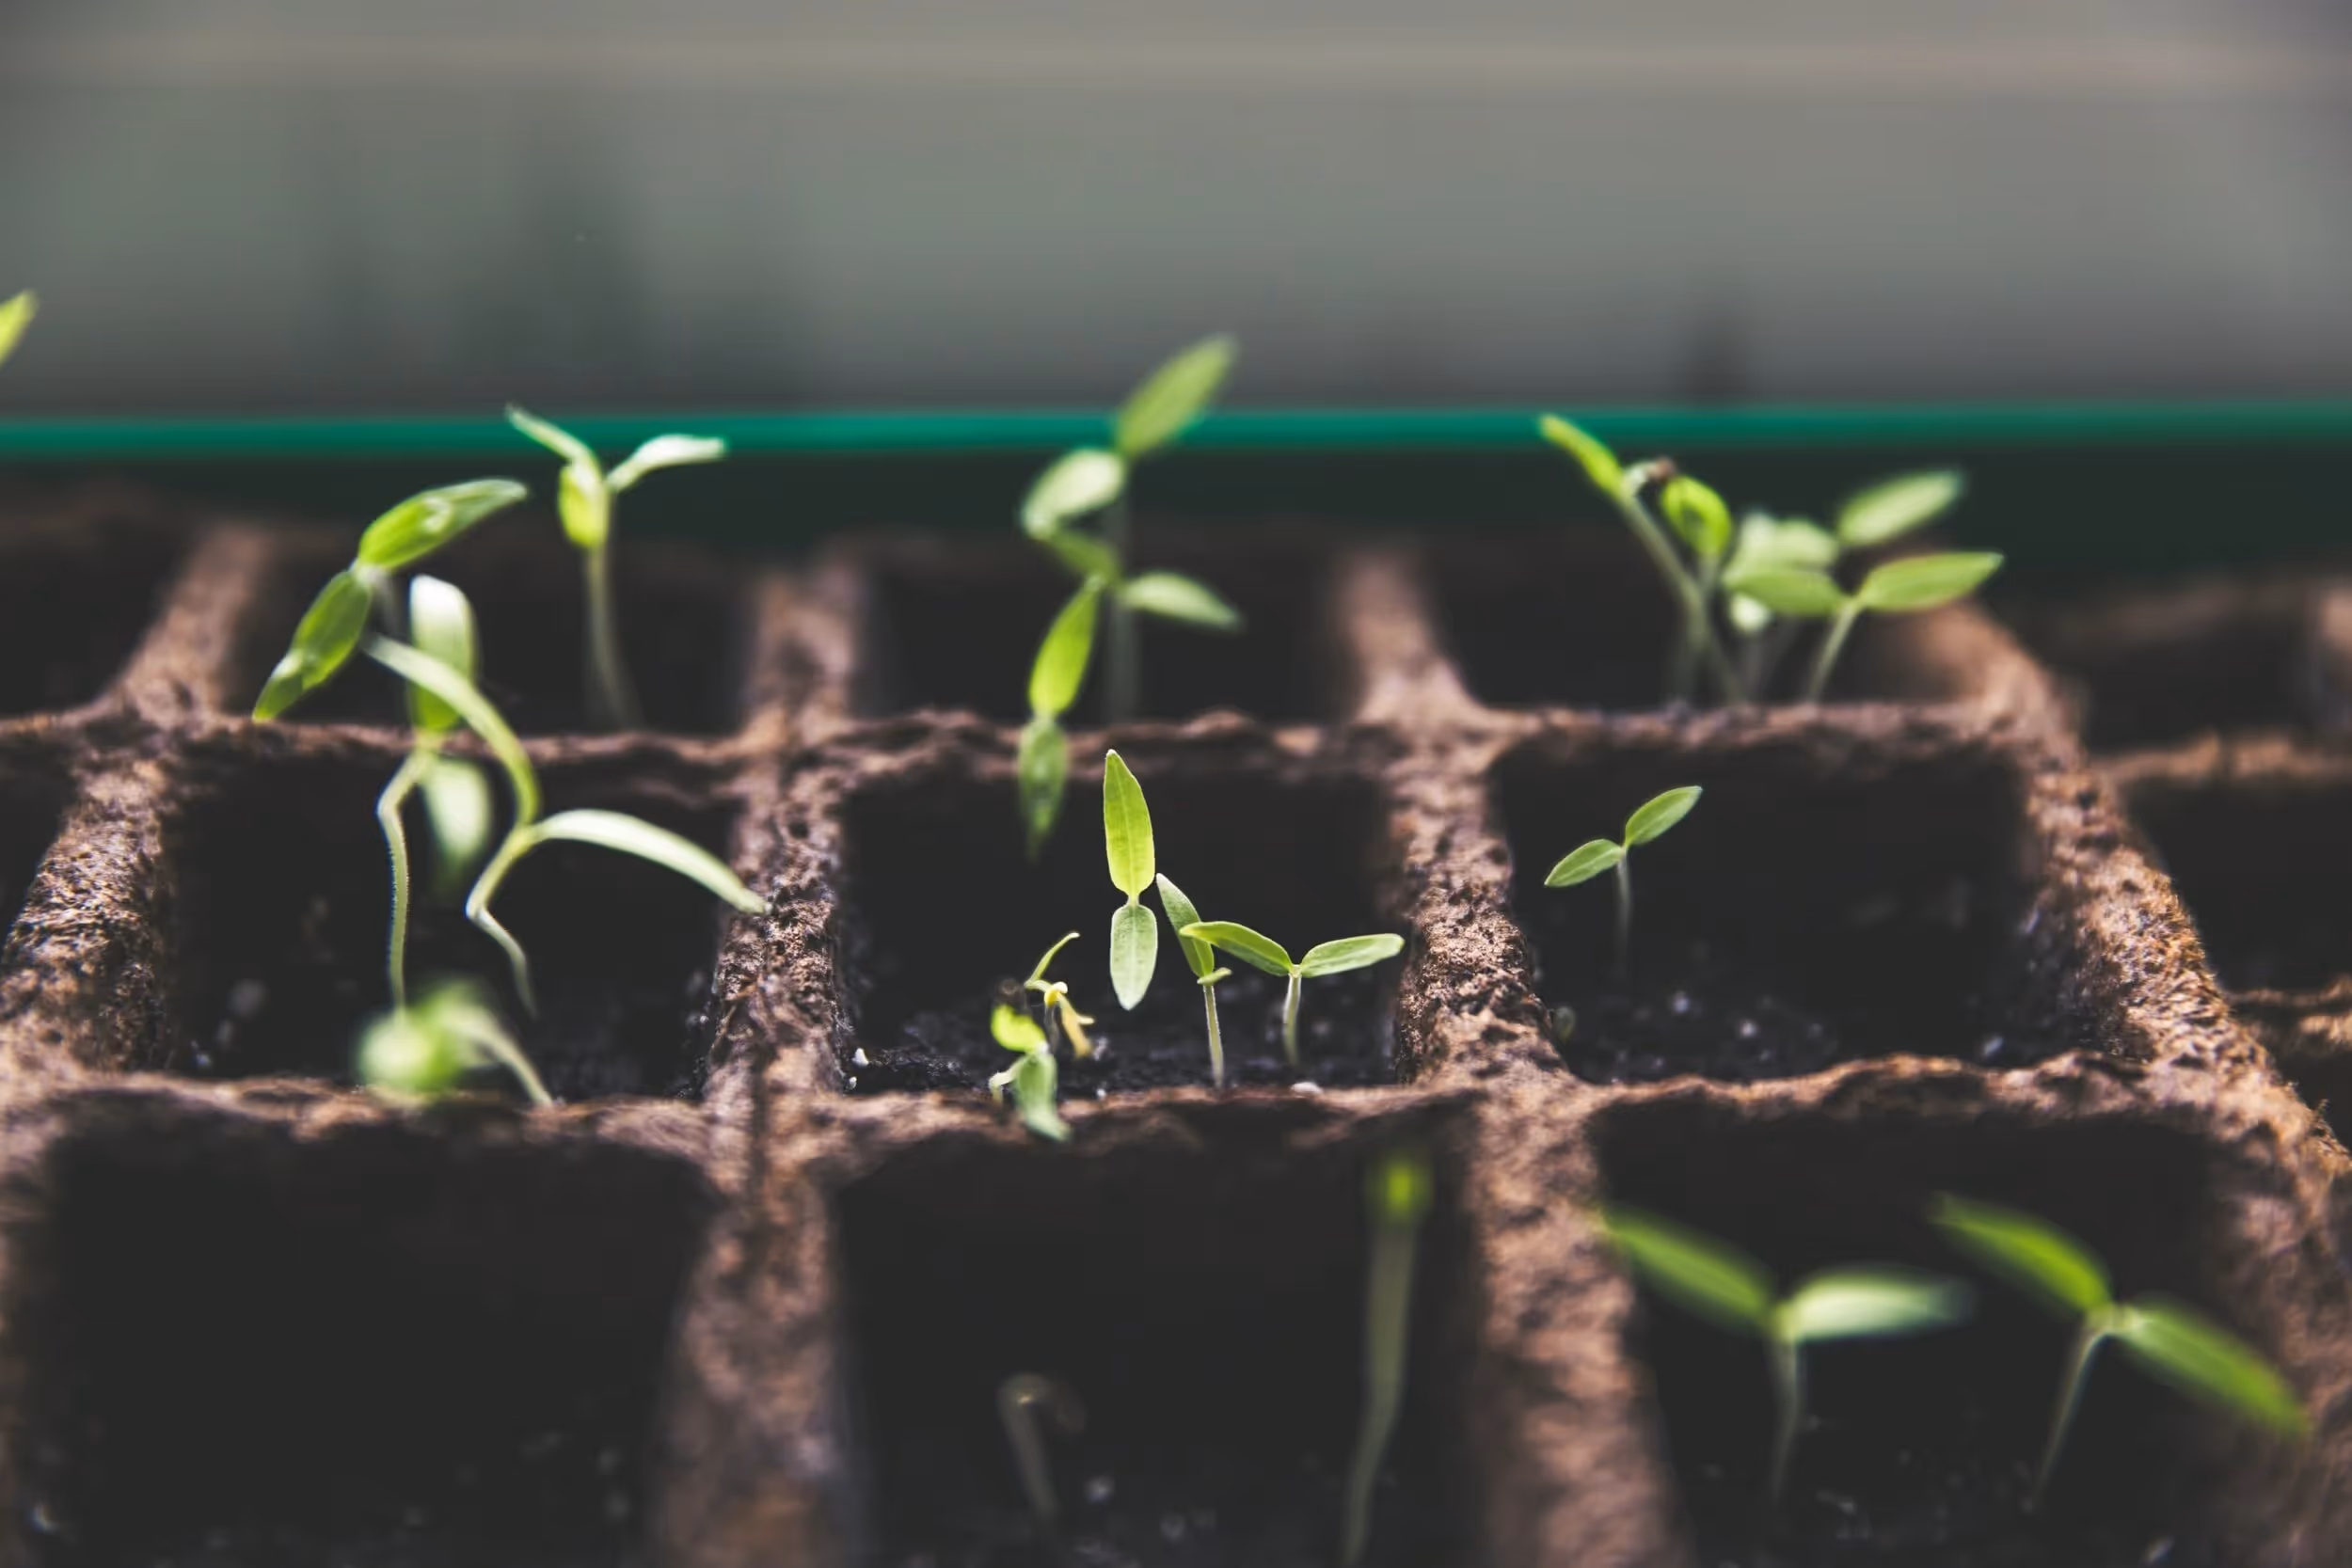
Start your seeds in a sunny window. Once they germinate, supplying additional light can help the problem of skinny, stretchy seedlings. For maximum effectiveness, lights should be placed 1-2” above the seedlings once they germinate, and raised as seedlings grow to keep a 1-2” distance from the leaves. Lights should be on for 14-16 hours per day.
If you start in small containers it may be necessary to transplant seedlings into a larger container before they’re ready to go into the garden. In that case, choose a container about twice the size of the original and handle the seedlings gently. When reusing containers that previously held plants, sterilize with a 1:9 bleach/water solution to kill any pathogens clinging to the container.
One step often forgotten is “hardening off” the seedlings for at least a week by moving them outdoors during the day to a sheltered location that gets filtered sun and little wind. Gradually increase the time spent outdoors. This reduces shock when transitioning from indoor conditions to outdoor conditions.
A final note-sometimes seed packets will indicate that they are best sown directly in the ground. Often this is because they transplant poorly, or grow poorly in indoor conditions, resulting in a weaker plant overall. As tempting as it may be, resist the urge to start these seeds early-you’ll probably have to re-sow anyway to get a quality plant.
Checking leftover seeds for viability
Wondering if you can still plant those seeds you bought last year but didn’t use up? How likely they are to remain viable depends on how they were stored, with temperature and humidity affecting seeds the most, but as long as seeds were stored relatively cool and dry, most are good for one to three years. Try this test to determine what percentage are still alive.
• Count out a number of seeds (at least 10-20)
• Dampen a paper towel. You want it moist, not drippy
• Fold towel in half
• Place the seeds on one side of your folded towel
• Fold towel again over the seeds
• Slip the folded towel flat into a sandwich bag and seal the bag
• Place the bag in a warm dark place
• Take out the towel and check the seeds after 48 hours, then every 24-48 hours after, making sure to keep towel moist if it starts to dry out
• Viable seeds will begin to germinate in the towel. After a week you can determine if the percentage of likely viable seeds is worth planting.
Remember, fresh seeds generally give the best results. Even when older seeds germinate, the resulting plants are sometimes not as vigorous as those that grow from fresh seeds.
Have a question or want to discuss your property? Fill out the form below, and we’ll get back to you as soon as we can!